Thursday, December 23, 2010

Ice Skating Adventure!

I have wanted to do this for a very long time!  This was always one of my favorite past times growing up as a kid.  The weather was just about perfect today: 30 degrees and no wind!  Our town has a outdoor rink that they built a few years ago.  We ventured there today to test it out for the first time.  I didn’t know how the kids were going to do, but it was worth a shot! 

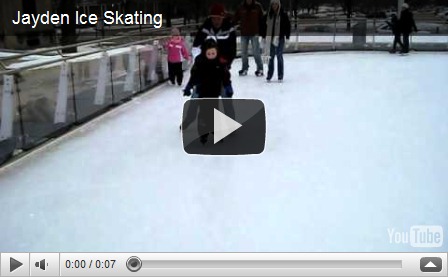
Jayden fell pretty much the minute he hit the ice and that ruined it for him for a bit.  But with encouragement we got him to loosen his death grip and enjoy it as much as he could.  I think the next time we go, he will have a bit more confidence in himself and will do just fine!  Here is a short clip of our little man trying it out for the first time!

Jayden skating for the first time

Josie, on the other hand, it took her about 5 minutes and a couple falls and she was skating alone.  Not wanting help at all!  It was so much fun to see her take off like that.  She would fall and get right back up.  The whole time she was skating she had this proud grin on her face that she was trying to hide.  She also turned a circle at one point!  Such confidence she has!  Here is a short clip of her skating.

Josie Ice Skating
I was very proud of both my kids for trying something new and different.  Jayden was not happy at all that his little sister did better than him.  So the competition begins!  We had to have a little talk about it, but he’s okay now!  I think this will be a family event that we will have to do again and again.  Lots of fun was had by all! 
Wednesday, December 22, 2010

The “Jeep Express”


Ya Got to love the movie, “Polar Express.” Ya got to also love when you can make it “live” for the kids.  There is this activity you can do to make looking at Christmas lights more fun!  It’s been called the “Minivan Express.”  But since we don’t have a minivan, we called it the “Jeep Express.”  This was our second year of doing this and it was just as fun and surprising for the kids as last year.  I love making these kind of memories that will last forever!  I hope they will pass it on to their own kids someday! 
IMG_8983

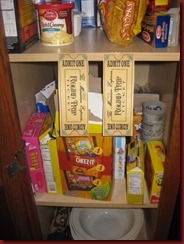
If you have seen the movie, you know the story behind the ticket.  I had printed off four tickets from a website last year and held on to two of them to use this year.  I taped them to our snack cupboard so they would be surprised to find them! 

IMG_8984IMG_8986

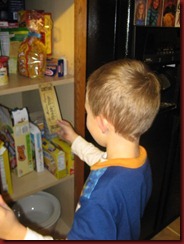
I had the kids get their jammies on, then because we have such a routine in this house, I knew they would go to the snack cupboard right after that.  Josie opened it and found the tickets!  She was confused….ran and got Jayden…he came down and they figured it out.  So excited!

IMG_8988

They hurried up and got their robes and slippers on and headed out the door.

IMG_8991

“Conductor” Dad was waiting by the door to punch their ticket to get on the express!  Jayden was super pumped about this.  His laugh was one to bottle up and keep it forever!

IMG_8993IMG_8992

IMG_8994IMG_8995

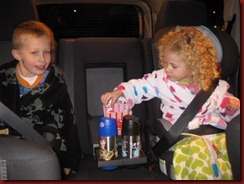
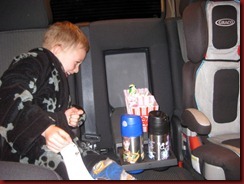
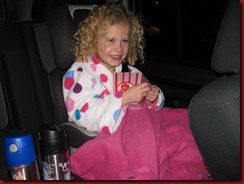
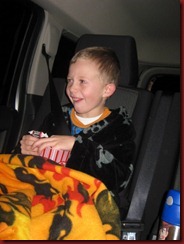
They hopped into the jeep and were very excited about the treats they found!  Of course they got settled into their seats and dug right in to their popcorn and candy!  The best part is, we listened to the “Polar Express” soundtrack while driving around town.  Enjoying the music and lights and just a fun thing to do!  They LOVE the “Hot Chocolate” song.  I think we listened to it about 5 times!  It’s a pretty catchy tune!

Josie is convinced that Santa set this up!  And every Nativity scene we came across in someone’s yard was a God Village.  Apparently that is the new terminology in the house!  It’s stuck in her head!  Now they are both saying it. 

IMG_8996

“Conductor” Dad driving us around!  Such a good dad he is!

Another great Christmas memory written in the books!

Monday, December 13, 2010

Glittery Snow

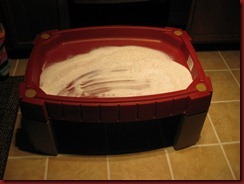
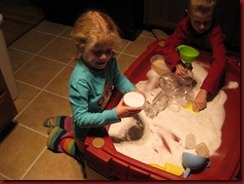
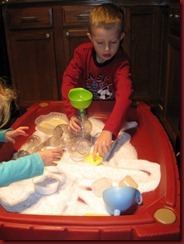
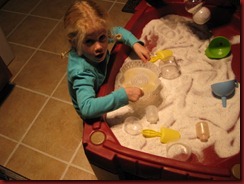
Okay, I have said before, I apparently like glitter this year.  It’s been fun and festive with all the things we have been doing around the house.  Hasn’t been quite as messy as I thought it would be.  Today, I changed out the sensory table.  I had in it the Insta-Snow.  Let me tell ya, it was a lot of fun, but didn’t live up to my expectations.  But, the kids had fun with it and I would probably buy it again.  It just didn’t keep the volume that I thought it would.  My son had fun driving his monster trucks through it.  We will probably buy it again, but I won’t have such high hopes!

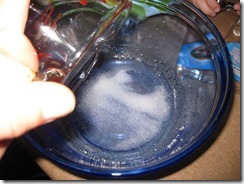
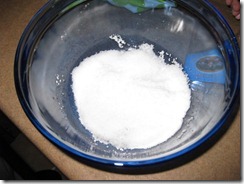
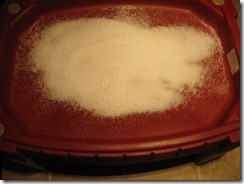
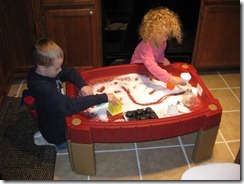
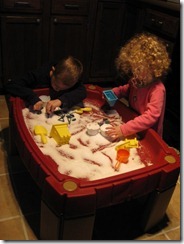
Today, we made some glistening snow!  I had bought 4 containers of salt.  I think I spent a whole $1.60 total.  I ended up only using three containers.  The kids poured that into the table.  Then I added many different colors of glitter to give it sparkle and some color!

IMG_8839

You can’t really see the sparkle but it’s in there!

I have a bin of containers and lids and other random things that I use for our sensory table activities.  This time, I pulled out all the clear containers, two small scoops, sifter,  and two funnels.  I did this so the kids could watch the “snow” glisten and see what they were doing!  It’s a great activity and the kids are having fun with it. 

IMG_8843IMG_8845

IMG_8848IMG_8849

The salt does leave a weird texture feeling on your hands, but nothing that a little soap and water can’t take care of.  I look at it as a very cheap, fun, and different activity to entertain the kiddos!  Just have a broom handy!

Gingerbread House

This weekend, Mother Nature decided to bring on it’s first big snow of the year.  This meant, we were stuck inside!  When that happens, you have to find lots to do to keep the little busy bodies…BUSY!

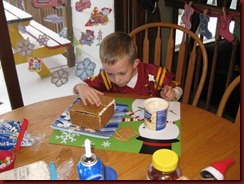
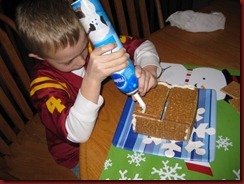
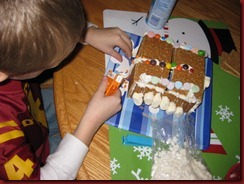
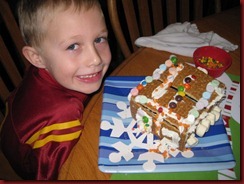
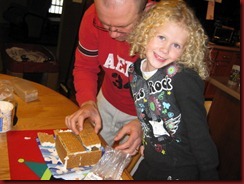
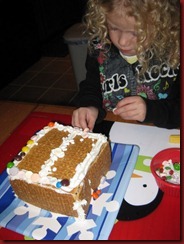
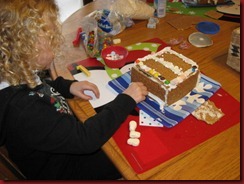
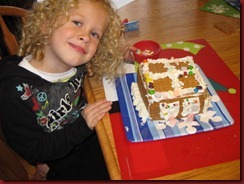
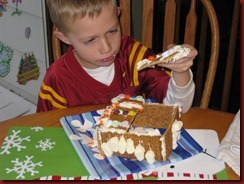
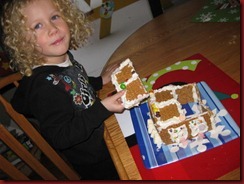
When my daughter was 18 months old and my son 3, we decided to make gingerbread houses.  I had bought the kits to use instead of just being creative on are own.  The kids had fun doing them, but within minutes my daughter had broke out in hives.  I haven’t bought a kit since!  My daughter really wanted to do a gingerbread house so we got creative and used stuff at home!  We still have a ton of Halloween candy and  it came in very handy.  We used: graham crackers, frosting, M & M’s, Smarties, Skittles, Sweet Tarts, snowman marshmallows, and a few more things I’m sure.

My husband helped get the house built.  We just made a one story “bungalow!” That’s all they needed to make them happy!  We then let them do what they wanted to it.  It was fun to see what they came up with. 

Jayden working hard!

IMG_8808IMG_8810

IMG_8819IMG_8830

Josie enjoying the fun!

IMG_8813IMG_8820

IMG_8823IMG_8827

And the best part: EATING THEM!  They didn’t each much of it as I think they were on sugar overload from the samples they were sneaking while making the house! 

IMG_8831IMG_8832

Sunday, December 5, 2010

Snow!

I found this fake snow at a little shop over Thanksgiving.  It looked like fun and had an interesting texture.  They had a sample out to play with and the lady working explained it to me.  I thought about it for a minute and decided it would be a totally fun activity for the sensory table! 

IMG_8791

This is what it comes in.  It’s a little tube that has a white, powdery substance. I bought two packages.

IMG_8795IMG_8796

Follow the directions on the package! 

IMG_8797

Then you have snow!  The two tubes I bought, made enough for both kids to play with a good amount.  I wish I would have bought another tube just to make sure I had enough.  I love the texture.  It even feels cold!  The cool thing about this snow, is it will dry up, but you spray a little bit of water on to it and it will poof right up again!  I am curious how it will look in the morning after drying out over night.  It also says that when you are done with it and let it dry out, it should all fit back into the tube!  Verdict is still out on that one!

IMG_8801IMG_8802

I got out the castles that I had kept from our moon sand.  My son got out his army/police/fire men and used them in the snow and used the castles as forts!  Love the creativity!

Since we don’t have snow outside, YET, this is a great indoor activity.  The snow doesn’t turn into water and they hands don’t get cold!  If you see this fun snow around your town, you should try it out!  I did find some at Wal-Mart today, but it does not have the same consistency as this kind.  Such a great activity on a winter day!

Friday, December 3, 2010

Every Little Girl’s Dream


If you have a daughter who likes to play “salon” like mine does, than this idea is for you!

My friend shared this idea with me that she was going to make for her girls.  I thought it was pretty cool and knew that my daughter would love it as well.  My friend can’t remember what site she got the idea from, but she Googled “fake makeup” and this is what she clicked on!  I totally love it and I know it’s going to be a big hit in this house.

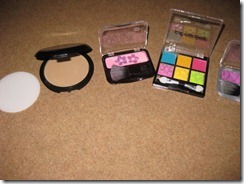
Most women wear makeup and have cases of it lying around that they don’t use anymore.  I, on the other hand, do not wear makeup.  I actually scrounged a couple cases up from my mom.  I then decided to go check out the Dollar Tree and see what they have for makeup.  The Dollar Tree always pulls through!  They had quite the selection!  So I think I spent about $4 dollars in total on makeup.

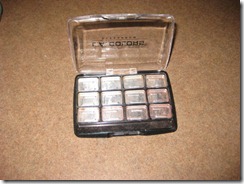
To start, scrape all the real makeup out of the container and clean it as good as possible.  Here is a picture of one of my empty cases.

IMG_8786

Once they are emptied and dried, all you need is some sticky back foam!  I used a variety of colors and textures to fill the little squares.  I had some foam that had some glitter on it, also had some sticky back felt.  Use your creativity and come up with the colors and styles of “makeup” you want to make!  I did have to use some non sticky back foam, but I used foam glue to put the pieces in their place.

Here is my end result!  Doesn’t it look like real makeup? 

IMG_8787IMG_8788

IMG_8789

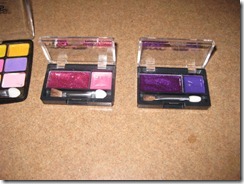
There is also a way to make fake lip gloss!  Empty a container of makeup and pour some nail polish in the squares and let it dry!  It turns out all smooth and shiny.  It really does look like lip gloss!

IMG_8790

This makeup is going to be one of my daughter’s 12 Days of Christmas.  I can’t wait until she opens it.  Thanks, Emily, for the awesome idea!

Fun Foam Snowflakes


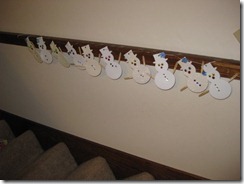
Last year, the kids and I decorated some foam snowmen.  They loved it!  Here is how they turned out.  We have them hanging down the stair railing.

IMG_8778

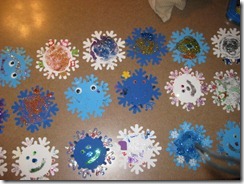
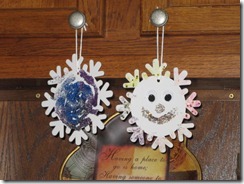
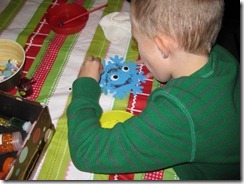
This year, we made some snowflakes.  It was a big pack of them and we probably could have done them all.  The kids loved this activity.  For supplies we used: glue, glitter, glitter glue, Christmas stickers, google eyes, foam stickers.  The popular supply was the glitter!  It made quite the mess, but I wouldn’t change a thing for the fun they had decorating their snowflakes!

IMG_8766IMG_8774

What is fun about snowflakes is that they are all different!  No exception in homemade snowflakes!  I even had to get in on the fun and make a few myself!

IMG_8776

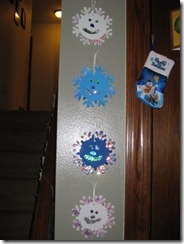
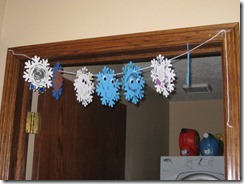
Then we decorated the house with our new snowflakes!

IMG_8779IMG_8780

IMG_8777IMG_8781

Such a fun easy craft to do with the kids!  I love Christmas crafts.  There is a wide variety and they just make the house so festive!  Plus, they are homemade decorations to hold on to for years down the road!  That is, till the glitter falls off!

Tuesday, November 30, 2010

12 Days of Christmas


I have wanted to do this with the kids since I had them, but of course I had to wait until they understood Christmas just a little bit more!  I have thought about doing an Advent countdown with them, but I decided to start small.  I loved the idea from this website, http://pinkandgreenmama.blogspot.com/2010/11/countdown-to-christmas-homemade-family.html  This is my goal for next year!  I can start thinking about it earlier and get some fun ideas on paper! 

So, this year I settled for doing the 12 Days of Christmas.  I can’t wait until we get to start it! 

IMG_8756IMG_8757

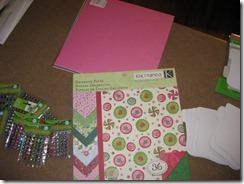
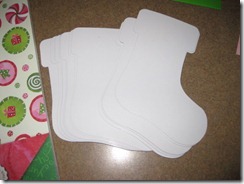
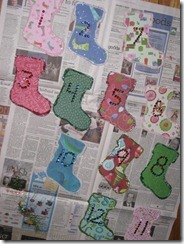
I went to Michael’s and walked around to get my creative juices going!  I grabbed some Christmas scrapbook paper, some fun colorful gems and some cardstock stockings.  I bought enough so that next year if I decide to do the Advent Count then I have all the items I need!

IMG_8759IMG_8761

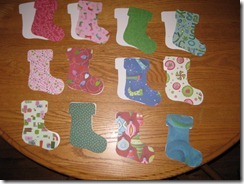
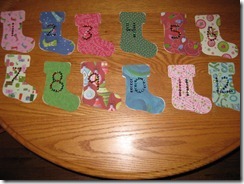
I cut the scrapbook paper to cover the stockings.  Then glued them on.  I used the gems to write the numbers on each stocking.

IMG_8763

I decided to decorate the trim of the stockings with glitter.  Josie started to help me with this, but she was making more of a mess than I wanted!  So, she gave up and I got to finish with less mess! 

IMG_8765

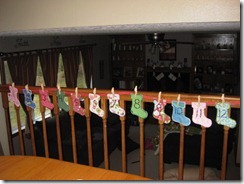
I also found some clothespins at Michael’s that had Santa or Snowmen on them.  You could paint/color them if you wanted, but I decided to leave them plain.  They were just cute!  I got some red ribbon and clothes pinned the stockings to the ribbon and hung them on this railing.  I love how it turned out!  What I also like about this is that next year when I decide to do the Advent I can write on the backs of the stockings the idea/activity for each day.

I found some trinkets, crafts, candy to wrap up and let the kids have each day of the countdown.  I’m excited and I know they are excited, too!  I also can’t wait to do a more fun but meaningful one next year!  Enjoy!